The Ultimate Guide to Repairing Common Household Electronics (And Why It Matters)
Why Repairing Electronics Is a Sustainability Imperative
Repairing electronics instead of replacing them is one of the most direct ways an individual can reduce their environmental footprint. Every year, the world generates over 50 million metric tons of e-waste — discarded phones, appliances, cables, and gadgets that mostly end up in landfills or informal recycling sites where toxic materials leach into soil and water.
The circular economy offers a different model: products are designed, used, repaired, and reused rather than discarded. Repair sits at the heart of this framework. When you fix a toaster instead of buying a new one, you're not just saving money — you're keeping materials in circulation, avoiding the energy cost of manufacturing a replacement, and pushing back against the culture of planned obsolescence that drives so much unnecessary consumption.
The Right to Repair movement has been building momentum globally, pushing for legislation that requires manufacturers to make spare parts and repair documentation available to consumers. This isn't just a policy debate — it's a validation of your choice to open up a device and fix it yourself. Repair is not a niche hobby. It's a practical skill with real consequences for the planet.
Which Household Electronics Are Most Worth Repairing
Not every broken device is worth the effort — but far more of them are than most people assume. The key factors are part availability, repair complexity, and the cost ratio of repair versus replacement.
Here's a practical breakdown by category:
- Lamps and lighting: Almost always worth repairing. Switches, sockets, and cords are cheap and easy to replace. Even LED driver failures can often be fixed.
- Vacuum cleaners: High repair value. Motors, belts, filters, and brush rolls are widely available. A vacuum that cost $150 can often be restored for under $20 in parts.
- Toasters and small kitchen appliances: Good candidates. Heating elements, switches, and fuses are standard components. Complexity is low.
- Smartphones: Screens and batteries are the most common failures, and both are repairable on most models — though some manufacturers make this deliberately difficult. Check part availability before committing.
- Laptops: Battery replacements, keyboard swaps, and RAM upgrades are accessible to beginners. Logic board failures are trickier but not impossible.
- Large appliances (washing machines, dishwashers): Often excellent repair candidates. Parts are usually available, and a repair can extend appliance lifespan by five to ten years.
A rough rule: if the repair cost (parts plus your time) is less than 50% of a replacement's price, repair almost always wins — financially and environmentally.
Essential Tools Every Home Repairer Should Own
You don't need a professional workshop to repair most household electronics. A focused set of tools covers the vast majority of common repairs.
- Multimeter: The single most important diagnostic tool. It measures voltage, current, and resistance, letting you test fuses, check power supplies, and identify dead components without guessing.
- Precision screwdriver set: Modern electronics use Phillips, Torx, tri-wing, and pentalobe screws. A quality set with interchangeable bits handles almost everything.
- Soldering iron: Essential for fixing broken circuit board connections, replacing capacitors, or reattaching loose wires. A temperature-controlled iron in the 40–60W range is sufficient for most home repairs.
- Plastic spudgers and opening tools: These let you pry apart device housings without scratching or cracking them. Metal tools often cause damage.
- Heat gun or hair dryer: Useful for softening adhesive on sealed devices like smartphones and tablets.
- Isopropyl alcohol (90%+): Cleans circuit boards, removes thermal paste, and dislodges corrosion.
Total investment for a solid starter kit: roughly $60–$100. That pays for itself after a single successful repair on almost any appliance.
Step-by-Step: Diagnosing the Problem Before You Fix Anything
Good diagnosis is what separates a successful repair from an expensive mistake. Before touching any component, follow a structured process.
Step 1: Check the obvious first
Is the device plugged in? Is the outlet working? Is a fuse blown? These sound trivial, but a significant portion of "broken" electronics are simply suffering from a tripped circuit or a failed fuse — a two-minute fix.
Step 2: Visual inspection
Open the device (after unplugging it) and look carefully. Burnt smells, discolored components, swollen capacitors, or corroded contacts are all visible clues. A blown capacitor on a circuit board looks like a bulging or cracked cylinder — and replacing it is often straightforward.
Step 3: Use your multimeter
Test the power supply first. Measure voltage at the input and output. If power is reaching the board but nothing works, the fault is downstream. If no power is arriving, trace back to the cord, fuse, or power switch. This systematic approach narrows the problem without unnecessary disassembly.
Step 4: Consult disassembly guides
Before going deeper, look up your specific model. iFixit-style documentation — detailed, photo-rich disassembly and repair guides — exists for thousands of devices and prevents you from snapping clips or stripping screws by approaching the teardown blind.
Common Repairs and How to Tackle Them
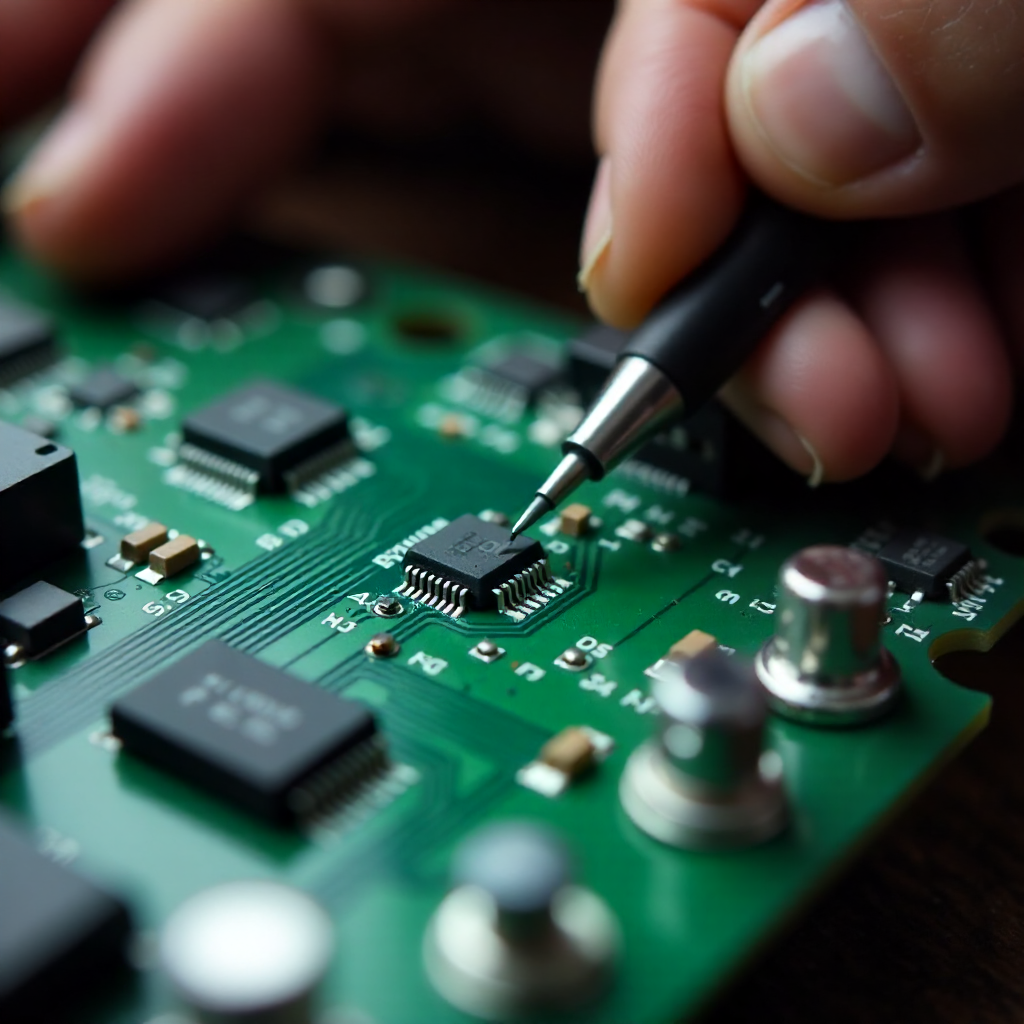
Most household electronics fail in predictable ways. Here are the repairs you're most likely to encounter.
Replacing a power cord
Frayed or damaged cords are a common failure on lamps, kettles, and small appliances. Cut the cord at the damage, strip the insulation, and connect the new cord to the terminal block or plug. Always match wire gauge and check polarity. This repair takes under 30 minutes and costs a few dollars.
Fixing a blown fuse
Locate the fuse (often in a small drawer at the plug or inside the device housing), test it with your multimeter on continuity mode, and replace it with an identical rating. Never substitute a higher-rated fuse — it removes a safety protection.
Resoldering a loose connection
Cold solder joints — where a connection has cracked or weakened over time — cause intermittent failures that are maddening to diagnose but simple to fix. Apply fresh solder to the joint with your soldering iron, let it flow cleanly, and the connection is restored. Watch for this on audio equipment, kettles, and older televisions.
Replacing a battery
Battery degradation is the most common reason smartphones and laptops feel "slow" or die quickly. Replacement batteries for most popular models are available online, and the swap typically requires only a screwdriver and a spudger. Battery replacement alone can add two to four years to a device's useful life.
Where to Find Parts, Guides, and Community Support
Spare parts sourcing and access to good documentation are the two biggest practical barriers for new repairers — but both are more accessible than most people realize.
For spare parts sourcing, start with the manufacturer's own parts portal if one exists. For everything else, platforms like iFixit, eBay, and AliExpress carry components for an enormous range of devices, including discontinued models. Search by model number and component name for best results. Local electronics repair shops often sell salvaged parts too, and they're worth a visit.
For guides, iFixit is the most comprehensive free resource available, with step-by-step instructions and community-contributed tips for thousands of devices. Manufacturer service manuals, when available, are even more detailed and can often be found through a targeted search.
Community support is where the journey gets genuinely interesting. A repair café is a free community event where volunteers with repair skills help people fix broken items together. The global repair exchange network connects people who want to repair with those who have the skills or tools to help. These spaces are not just practical — they build the shared knowledge base that makes repair culture sustainable long-term. To find a repair café near you, the Repair Café International directory lists events in dozens of countries.
How to Know When to Stop — and What to Do Next
Some repairs are genuinely beyond DIY scope, and recognizing that limit is a skill in itself. If a device has suffered water damage to its main circuit board, has a cracked display with digitizer damage on a high-end device, or requires specialized equipment to diagnose, a professional repair technician is the right next step — not the bin.
When a repair truly isn't viable, responsible next steps matter. Consider:
- Parts donation: A device that can't be repaired whole may still have working components. Repair cafés and community workshops often accept donations of broken devices for parts.
- Manufacturer take-back programs: Many brands now offer recycling schemes that ensure materials are recovered properly.
- Certified e-waste recyclers: Look for facilities certified under e-Stewards or R2 standards, which ensure responsible processing without export to informal recycling sites.
The goal is to keep materials in circulation as long as possible. Even when a device reaches the end of its life, there's a responsible path that doesn't involve a landfill.
Frequently Asked Questions
Is it safe to repair electronics at home without professional training?
Yes, for the vast majority of repairs — provided you unplug the device first and avoid working on anything connected to mains voltage without proper knowledge. Capacitors in some devices (like CRT monitors and microwave ovens) can hold dangerous charges even when unplugged. For those, professional help is genuinely warranted. For most small appliances, phones, and laptops, home repair is safe with basic precautions.
How do I find spare parts for older or discontinued devices?
eBay and AliExpress are the most reliable sources for older components. Search by the full model number plus the specific part name. Specialist electronics salvage shops and online forums dedicated to specific brands (especially for vintage audio or older appliances) are also excellent resources. iFixit sells parts alongside their guides for many popular devices.
What is a repair café and how do I find one near me?
A repair café is a free community event where skilled volunteers help people repair broken items — electronics, clothing, furniture, and more. They're run by local organizations and are open to anyone. The Repair Café International website maintains a searchable directory of events worldwide.
Does repairing my own electronics void any warranty?
In many cases, opening a device can void the manufacturer's warranty. However, the Right to Repair movement has pushed back against this in several jurisdictions. In the EU and some US states, legislation increasingly limits manufacturers' ability to void warranties simply because a user attempted a repair. Check your local consumer rights rules — you may have more protection than you think.
Which household electronics generate the most e-waste when thrown away?
Smartphones and laptops generate disproportionate e-waste relative to their size because of the concentration of rare earth metals and toxic materials they contain. Large appliances contribute the most by weight. Televisions, particularly older plasma and LCD models, also carry significant environmental costs when landfilled. These are precisely the categories where repair and appliance lifespan extension deliver the greatest environmental benefit.