Step-by-Step: How to Repair Clothing and Extend Its Lifespan
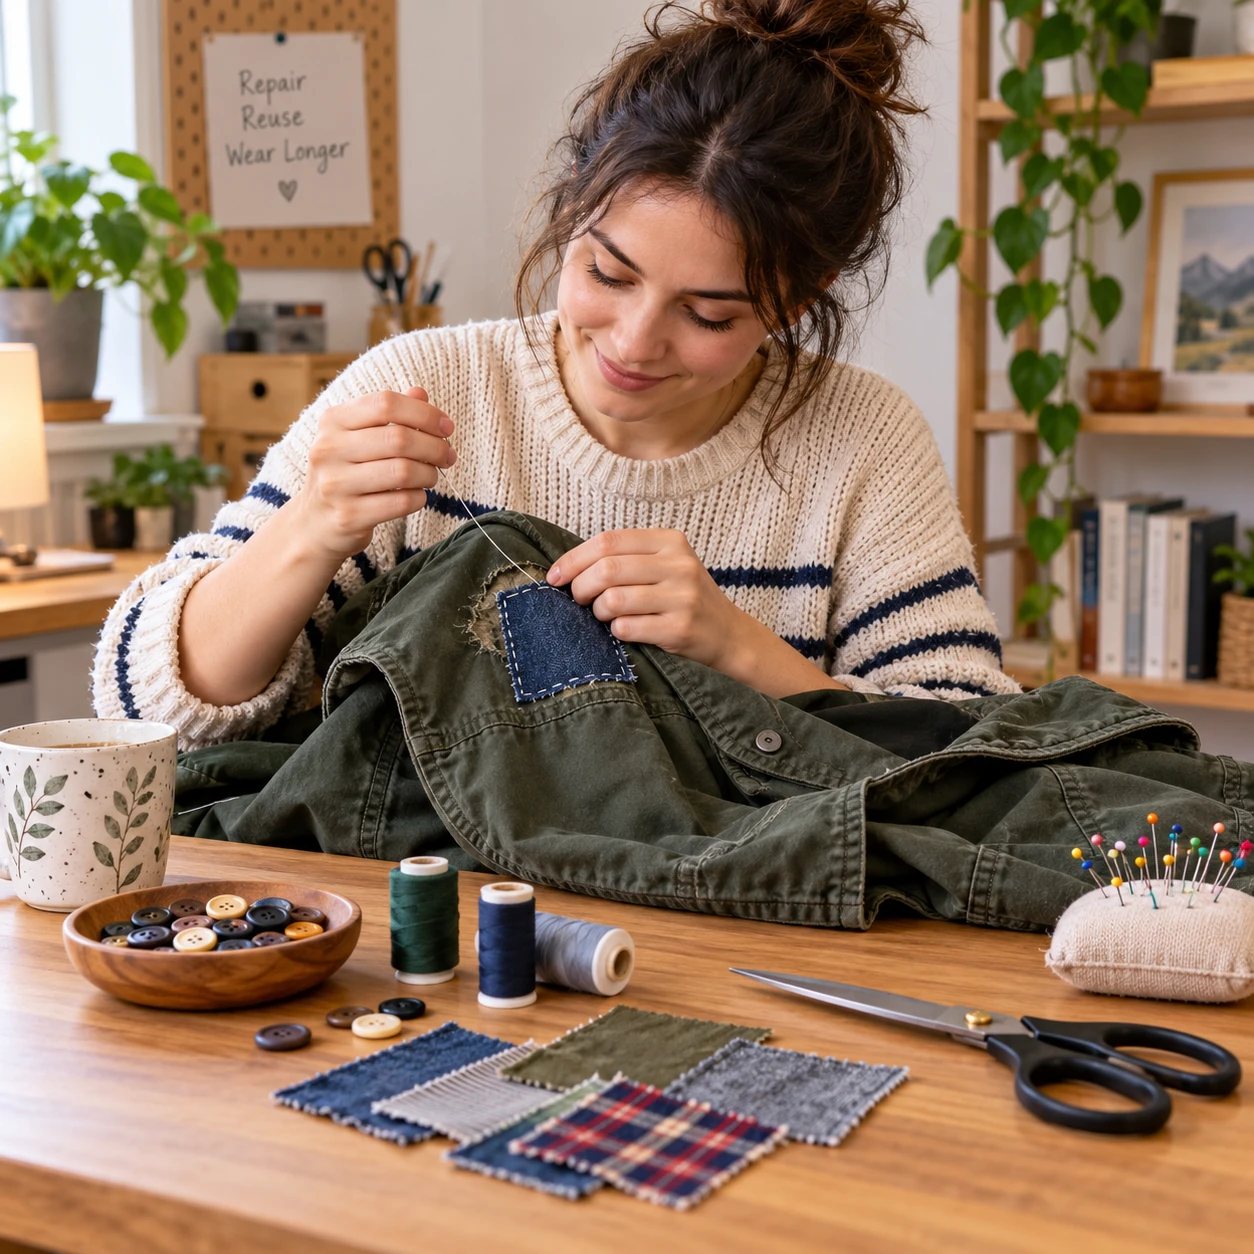
A loose seam, missing button, or small hole does not have to mean the end of a garment. With a few basic tools and a repair suited to the fabric and damage, you can make many clothes wearable again at home.
Clothing repair is a practical form of mending: it keeps useful materials in circulation, saves a garment from avoidable disposal, and helps you get more use from pieces you already own. The steps below cover common fixes, including seam repair, button replacement, patching, and darning.
Assess the damage and choose a repair
To choose the right clothing repair, check what is damaged, how the fabric is holding up, and where the problem sits. A split seam needs different treatment from a hole in the middle of worn fabric.
Start by washing or brushing away dirt so you can see the damage clearly. Lay the garment flat and inspect both sides. Gently pull the fabric around the area: if it remains firm, a simple stitch or patch may be enough. If it continues to fray, feels thin, or tears under light pressure, reinforce a wider area rather than closing only the visible opening.
- Open seam: align the existing edges and sew along the original seam line.
- Small tear: bring the edges together if they are intact; use a patch underneath if they are frayed.
- Missing button: sew on a replacement that fits the buttonhole and garment.
- Thin or holey knit: consider darning, which rebuilds the fabric with stitches.
Think about comfort and visibility, too. A repair inside a waistband can be discreet, while a patch on a knee may be easier to inspect and replace later. On stretch fabric, allow enough give for movement. If the cloth is very delicate, heavily damaged, or part of a technical garment with special construction, a tailor or repair professional may produce a safer result.
Gather basic tools and materials
A basic sewing kit is enough for many hand repairs: use needles, matching thread, scissors, pins, and a suitable patch. You do not need a sewing machine for a loose seam, a button, or many small holes.
Choose a needle that passes through the fabric without forcing it. Fine needles suit lightweight shirts; sturdier needles work better for denim or canvas. All-purpose polyester thread is a practical option for many everyday garments, while cotton thread may suit some natural fabrics. When possible, use thread close to the fabric color for a discreet repair, or choose a contrasting color if you want the mending to show.
- Needle and thread: select a needle appropriate to the fabric weight and thread that is strong enough for the job.
- Small scissors: use sharp scissors to trim loose threads cleanly.
- Pins or clips: hold edges and patches in place while you sew.
- Patch material: reuse a fabric scrap of similar weight and stretch, or choose a ready-made patch.
- Optional tools: a thimble protects your finger, and a needle threader can help with fine thread.
Wash a new patch fabric first if it may shrink. For iron-on patches, check the garment’s care label and the patch instructions; heat can damage some synthetics, coatings, and delicate fabrics. Hand-sewn patches take longer, but they give you more control over heat-sensitive materials.
Repair a loose seam or small tear
To repair a loose seam, turn the garment inside out, align the fabric edges, and sew through the sound material along the original seam. For a small tear away from a seam, close it gently or support it with a patch if the edges are weak.
Thread your needle and tie a small knot at the end. Position the garment so the repair lies flat, then secure the thread with a few small stitches in the intact fabric before reaching the gap. Keep the original seam allowance if you can; stitching too close to a frayed edge may let the repair pull out.
- Pin or hold the edges together without stretching the fabric.
- Use small, even stitches along the seam line, passing through both layers.
- Continue a little beyond the damaged section into sturdy fabric.
- Secure the thread with a small knot on the inside and trim the excess.
For a tear in the fabric itself, use a simple running stitch only if the edges are strong enough to meet without puckering. If the cloth is frayed, place a patch behind the tear and sew through the patch and garment around the damaged area. This spreads the strain across stronger fabric. Avoid pulling the thread tight: a puckered repair can feel uncomfortable and may distort the garment.
Replace a missing button
To replace a missing button, choose one that fits through the buttonhole, position it over the original stitch marks, and sew it on firmly with several passes of thread. A button that is too large or thick may not close comfortably.
If the original button is available, use it as a size and shape guide. Otherwise, check nearby buttons or bring the garment to a haberdashery shop to compare options. Thread a needle, knot the end, and anchor it on the inside of the garment beneath the button position.
- Pass the needle through one buttonhole and the fabric, then through the opposite hole.
- Repeat several times, keeping the button straight and leaving a little room for the fabric to sit naturally.
- For a shirt or other garment with thicker fabric between button and cloth, leave a small thread stem so the button can pass through the buttonhole easily.
- Finish on the inside with a secure knot and trim the thread.
Give the button a gentle tug and fasten the garment to check its position. If it wobbles, add a few more stitches. For a two-hole button, sew in parallel lines; for a four-hole button, use a cross or parallel pattern. The exact pattern matters less than a secure attachment that does not pull the fabric tight.
Patch a hole or reinforce worn fabric
Patch a hole when the surrounding fabric is too weak to hold a simple closing stitch; reinforce worn fabric before it tears through. You can make the patch discreet with matching material or visible with a contrasting scrap and decorative stitches.
Choose patch fabric with a similar weight and stretch to the garment. A stiff patch on a soft shirt can rub against the skin, while a non-stretch patch on leggings can restrict movement. For a comfortable finish, trim loose threads and round the patch corners, which are less likely to lift or catch than sharp corners.
- Cut a patch large enough to extend beyond the damaged area onto sound fabric.
- Place it behind the hole for a low-profile mend, or on top if you want the repair to be visible.
- Pin or clip it in place, smoothing the garment without stretching it.
- Sew around the patch edge with small, even stitches, then check that no sharp edges or loose threads touch the skin.
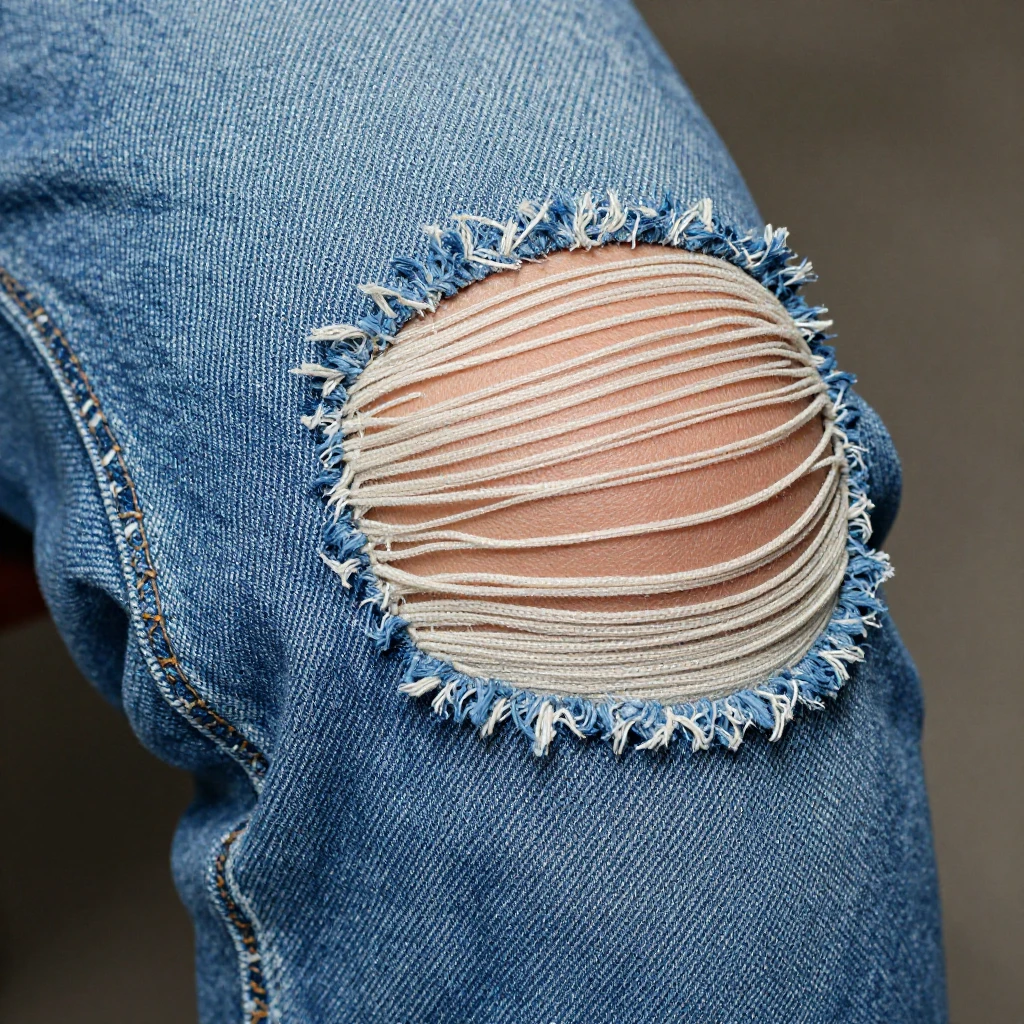
Darning is useful for small holes and worn spots, especially in knitted fabrics such as socks. It rebuilds the area by weaving stitches across the gap and then in the opposite direction. A darning mushroom or other specialist tool can help, but a rounded object that supports the fabric may be enough for a beginner. Darning works best when the hole is small and the surrounding knit is still sound. A large hole or broadly weakened area may need a patch or professional repair instead.
Check the repair and care for the garment
Check a repair by gently moving the garment as you would when wearing it, then inspect the stitching for gaps, tight spots, or loose ends. A comfortable repair should hold without pulling, rubbing, or changing how the garment fits.
Try the item on and bend, reach, or sit if that area moves during normal wear. For a seam, check that the stitching has caught both sides along the full damaged section. For a patch, make sure its edges lie flat. If the repair feels stiff or tight, remove a few stitches and resew with more room or a softer method.
Follow the care label when washing and drying. Gentle washing can reduce abrasion, while high heat may shrink some fabrics or affect adhesives used in iron-on patches. Turn delicate or embellished items inside out where appropriate, and avoid overloading the machine so garments have room to move. Let a fresh repair dry fully before putting the garment back into regular use.
Keep an eye on nearby wear during routine fabric care. If a repaired knee is holding but the other knee is thinning, reinforcing the second area early may prevent another hole. Small checks help you catch damage while a straightforward mend is still possible.
Make repair part of a circular wardrobe
Repair supports circular design by keeping garments and their materials in use for longer. A quick mend can delay disposal, reduce the need to replace a wearable item, and help you make better use of the clothing already in your wardrobe.
Build a simple habit around repair: set aside damaged clothes in one place, keep a small sewing kit accessible, and mend items before the damage spreads. You can start with a single button or seam, then decide whether a more visible patch or a professional repair is worthwhile. The aim is a garment you are comfortable wearing, not a flawless finish.
Repair has limits. Fabric that has deteriorated across a large area may not be safe or practical to mend at home, and some specialist materials require expert care. Even then, assess the garment before discarding it: a tailor may be able to alter or reinforce it, and intact fabric can sometimes be reused for patches. In circular design, extending use is the first question; the right next step depends on the garment’s condition and your needs.
Frequently asked questions
What basic tools do I need to repair clothing?
A basic sewing kit needs needles, thread, small scissors, and pins or clips. Add patch fabric for holes and a thimble if you sew often. These tools cover many common repairs by hand.
Can I repair clothing without a sewing machine?
Yes. Hand sewing works for many loose seams, button replacements, small tears, patches, and darning. A sewing machine can speed up longer seams, but it is not essential for basic mending.
How do I choose a patch for a garment?
Choose a patch with a similar fabric weight and stretch, and make it large enough to reach sound cloth beyond the damaged area. Consider softness and placement, especially where the patch may touch skin or restrict movement.
When should I reinforce fabric instead of replacing it?
Reinforce fabric when the garment is still wearable but an area is thinning or likely to tear. If the material is broadly weakened, the fit no longer works, or the repair would be uncomfortable, ask a repair professional about alternatives before replacing the item.